The Build So Far
Stereo System - 07/14/2020
Once the car was on the road, I knew the first thing I needed to do was change out the entire stereo system. The car came with some blown out speakers and a factory navigation unit from 2008, which was just about useless. I had a lot of miles to put into my commute from Dartmouth to Wrentham and wasn't going to do it with garbage speakers all summer.
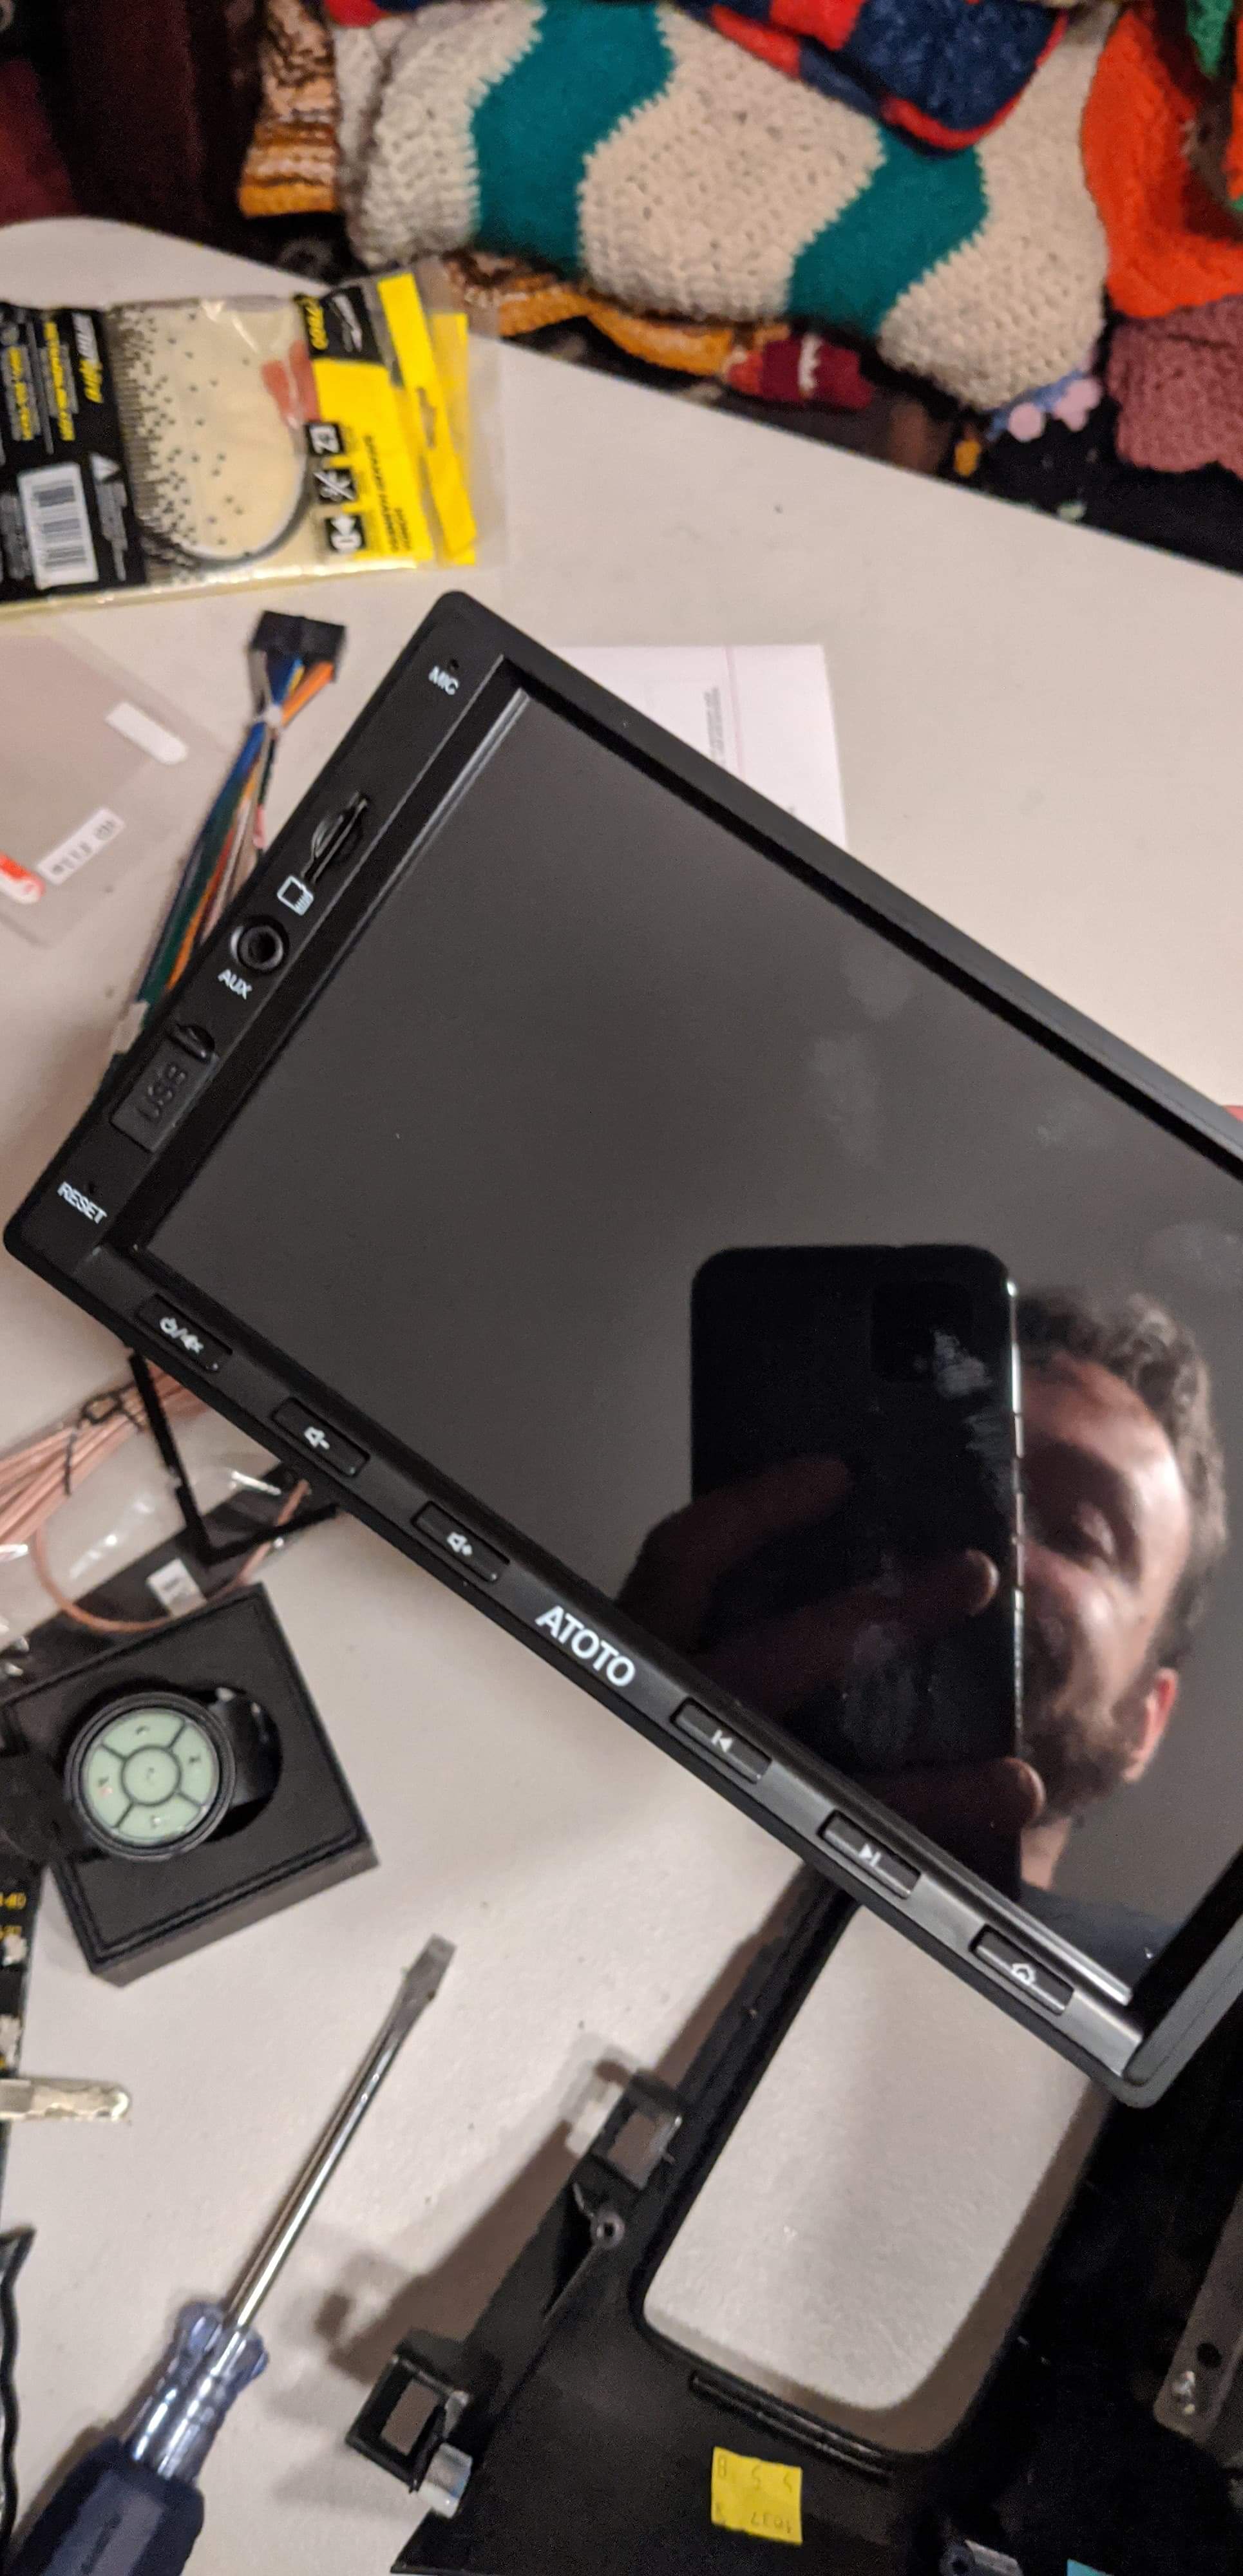
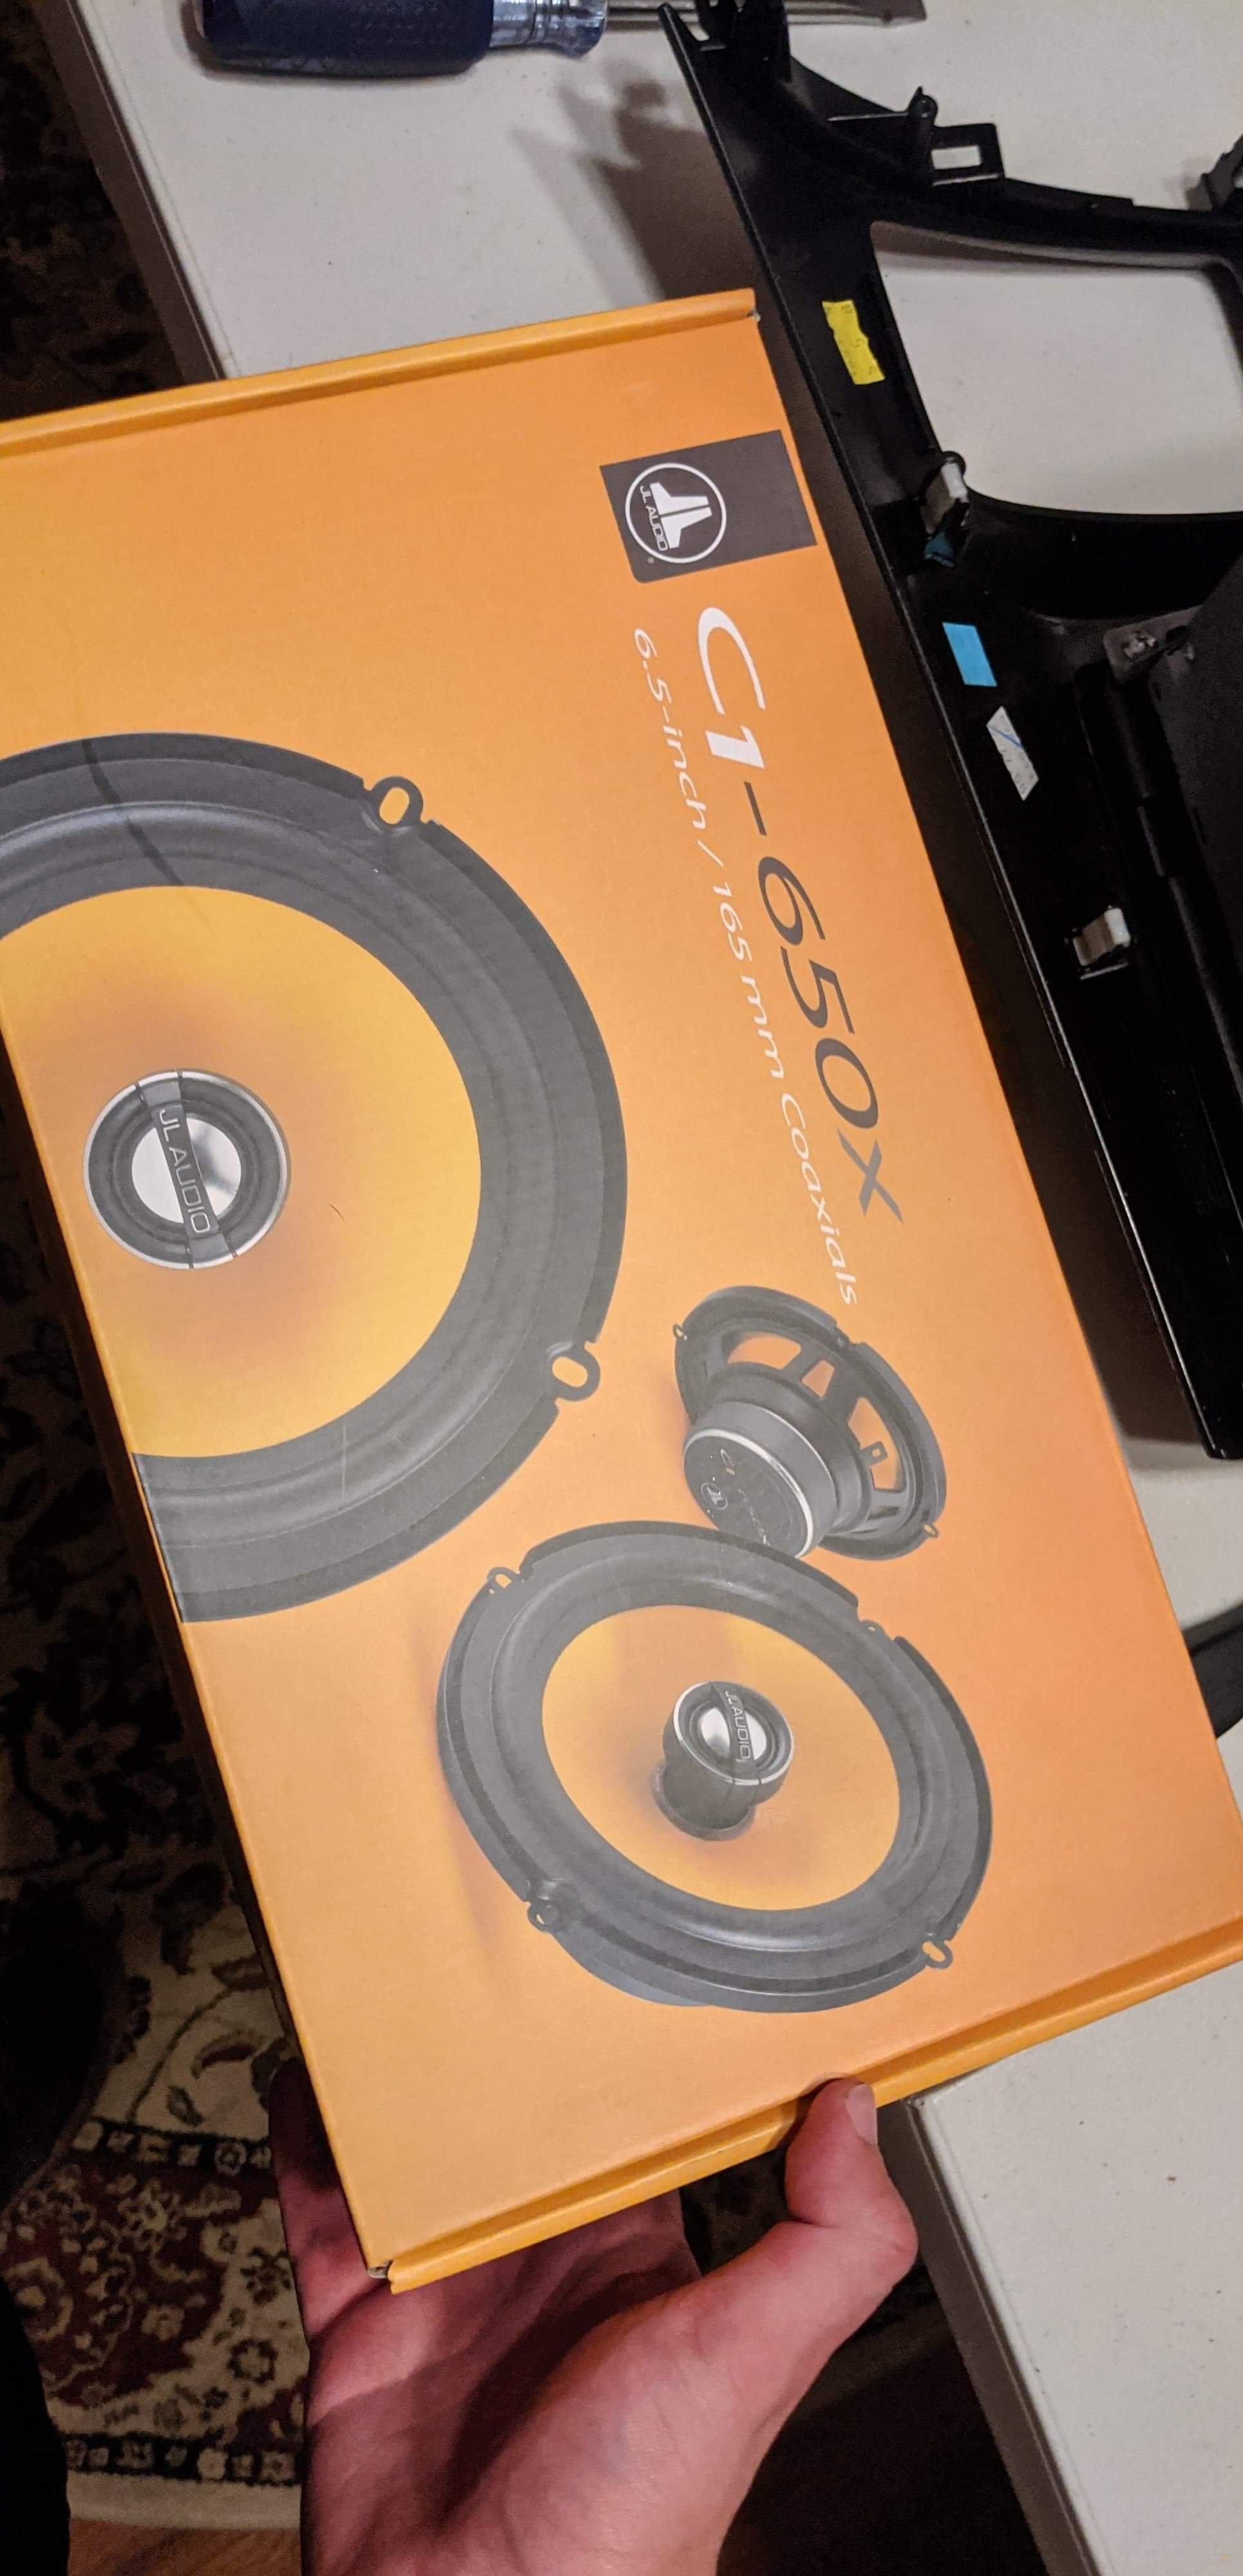
I went to Crutchfield and grabbed some JL Audio C1-650s, a dash kit to fit a new radio, and all the wiring and brackets I would need. The radio itself is an ATOTO A6 I bought from Amazon with a backup camera, OBDII sensor, and steering wheel controls to go with it. The entire project was to install the new radio, four new speakers, two new tweeters, a backup camera through the trunk, and my old Pioneer subwoofer and amplifier that I've moved between a few different cars now. Quite the project that I had severely underestimated, as this was my first time installing an entirely new stereo system.
I started by setting up a workbench and connecting radio's wires to the wiring harness for the car. That was a pretty long and tedious process of clipping wires, crimping connectors on them, and sealing with a heat gun. At around the same time is when I took the dash apart to get rid of the old radio and move the AC controls and other buttons to the new dash kit.

I quickly realized after starting on this project that it was going to take me much longer than I anticipated. Admittedly this is because I was moving slowly on the project because I had never done it before and took care to make sure I wasn't making any mistakes. Whatever, I could still get to work and it was all valuable experience.
Once the radio wiring was taken care of, I got to work replacing the speakers. There were two door speakers and two rear speakers behind the passenger seats to replace. This was probably the easiest part of the entire job. Just a couple of screws and adapters for the wires. I took the time to make new gaskets out of a cork/rubber material to make sure none of the speakers would rattle. Unfortunately I didn't take any pictures of this part... I didn't know I'd be making this site and I was racing against the clock. But I do have these fun pictures of my interior all dismantled.


While the speakers were easy to install, the tweeters were not. My Civic had two tweeters, tiny little speakers for high frequencies, in the far end of the dashboard right underneath the windshield that I wanted to replace. I didn't have any brackets to mount them or adapters for the wires. So I took the covers out and cut holes in them with a razor and a dremel to fit the tweeters into. Then I took some needlenose pliers to grab the inch of wire I had to work with right under the windshield, used a grill lighter to burn the rubber off the ends of the power and ground wires, and connected them to the new tweeters, all inside the car. A little nerve wracking, but you do what you have to do.
The same day I was tearing apart my interior, my buddy Dallas came over to replace his brake pads and rotors on his Nissan Sentra Spec-V. We both love cars and want to learn more about working on them, but it's my dad that's the real expert when it comes to mechanics. Both of us worked on our projects while dad overlooked and make sure we weren't destroying anything. It was a pretty funny sight.
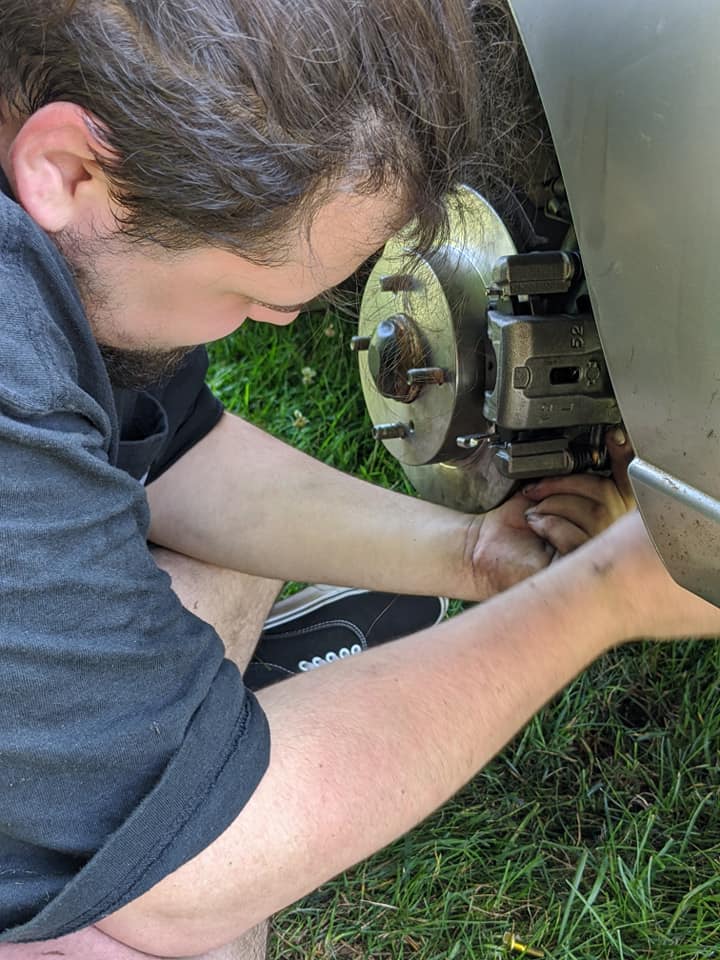
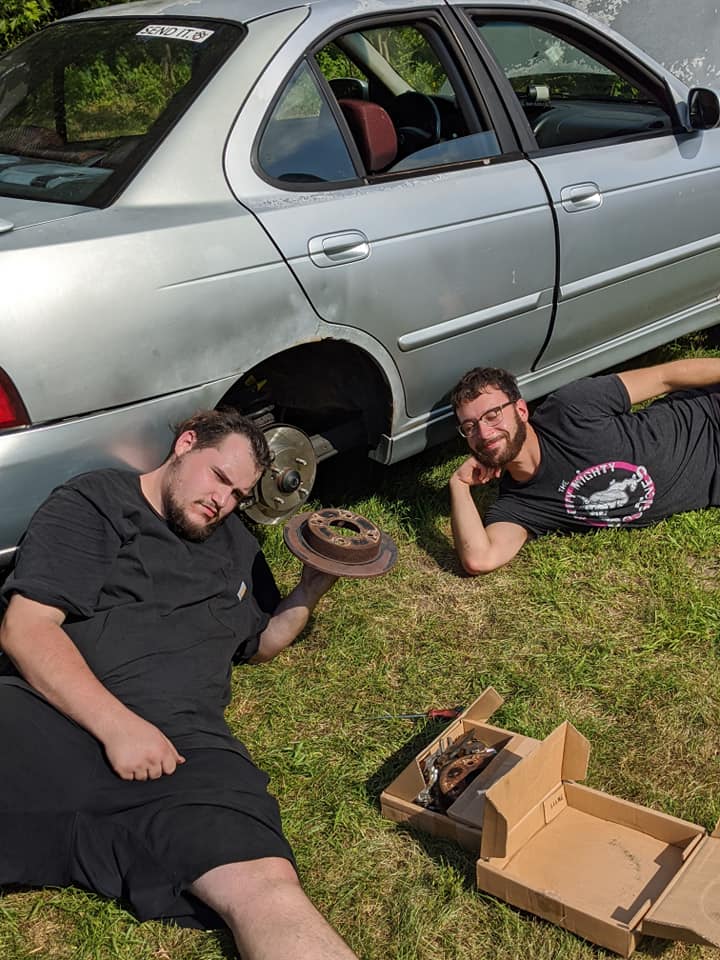
While Dallas did his thing, I was working on running my subwoofer wires and backup camera to the trunk. This required pulling all sorts of trim pieces out for me to hide the wires underneath them. I also had to drill some holes in the trunk for the backup camera wire to go through and to ground the subwoofer. Once the wires were in place, the subwoofer installation was as simple as dropping it in the trunk and plugging the wires in. The hardest part of this was to wire the backup camera to my reverse lights so it would get powered on when I put the car in reverse. Overall not too challenging, I was just exhausted from the whole process.
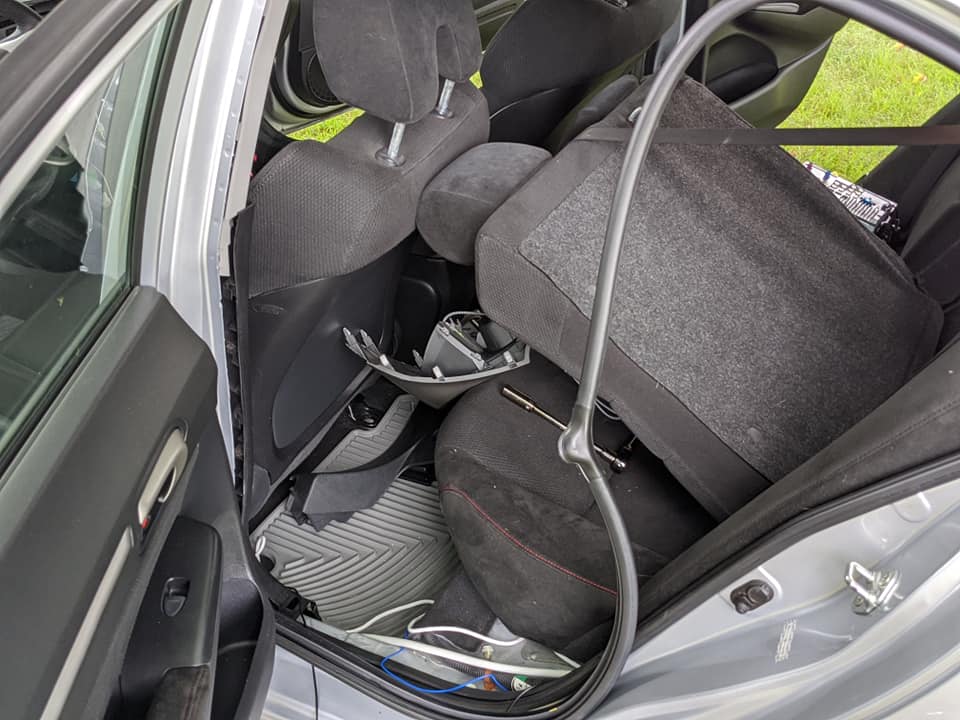
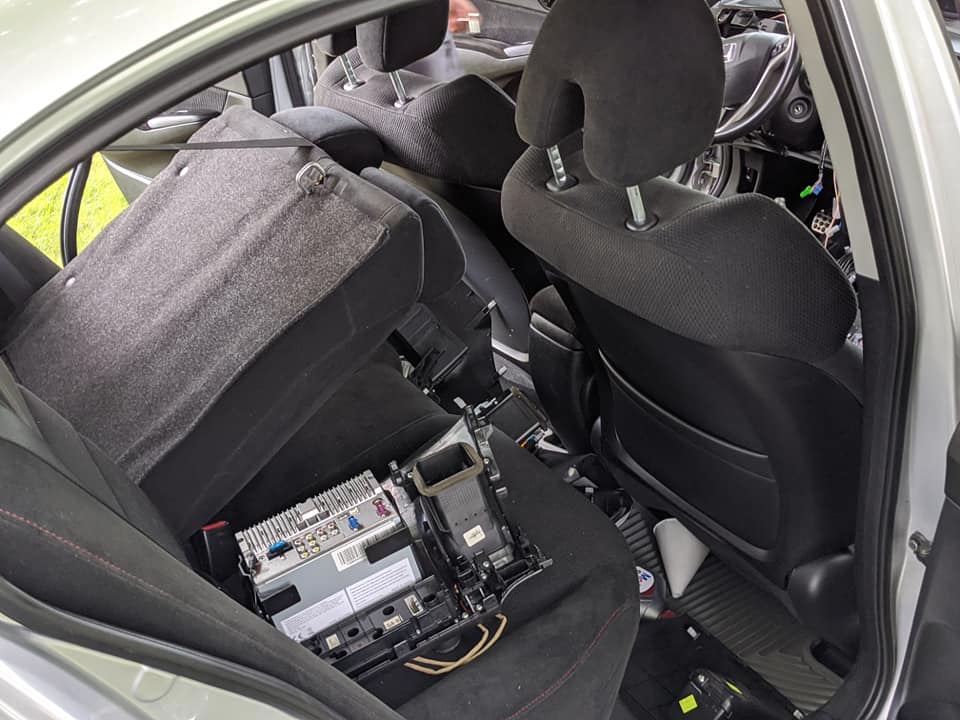
Almost there: wires all roughly in place, speakers, subwoofer, and backup camera installed, all that was left to do was drop the radio in and see if it all worked. To my complete surprise, everything worked on the first try, and my first project on the Civic was done. It only took a week and every ounce of effort I could give...


Coilovers - 12/3/2020
After about a month for lead time and shipping, my Fortune Auto 500 Series coilovers from FitmentIndustries.com, came in. I was pretty happy upon opening the box and looking at all the components. Everything seemed to be made with quality materials, and the package included a certificate saying when the parts were made and by who.
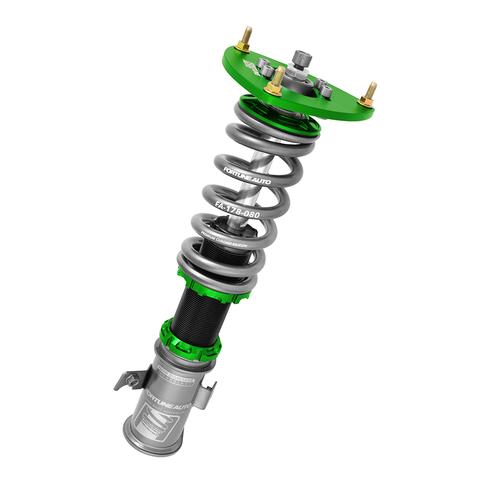
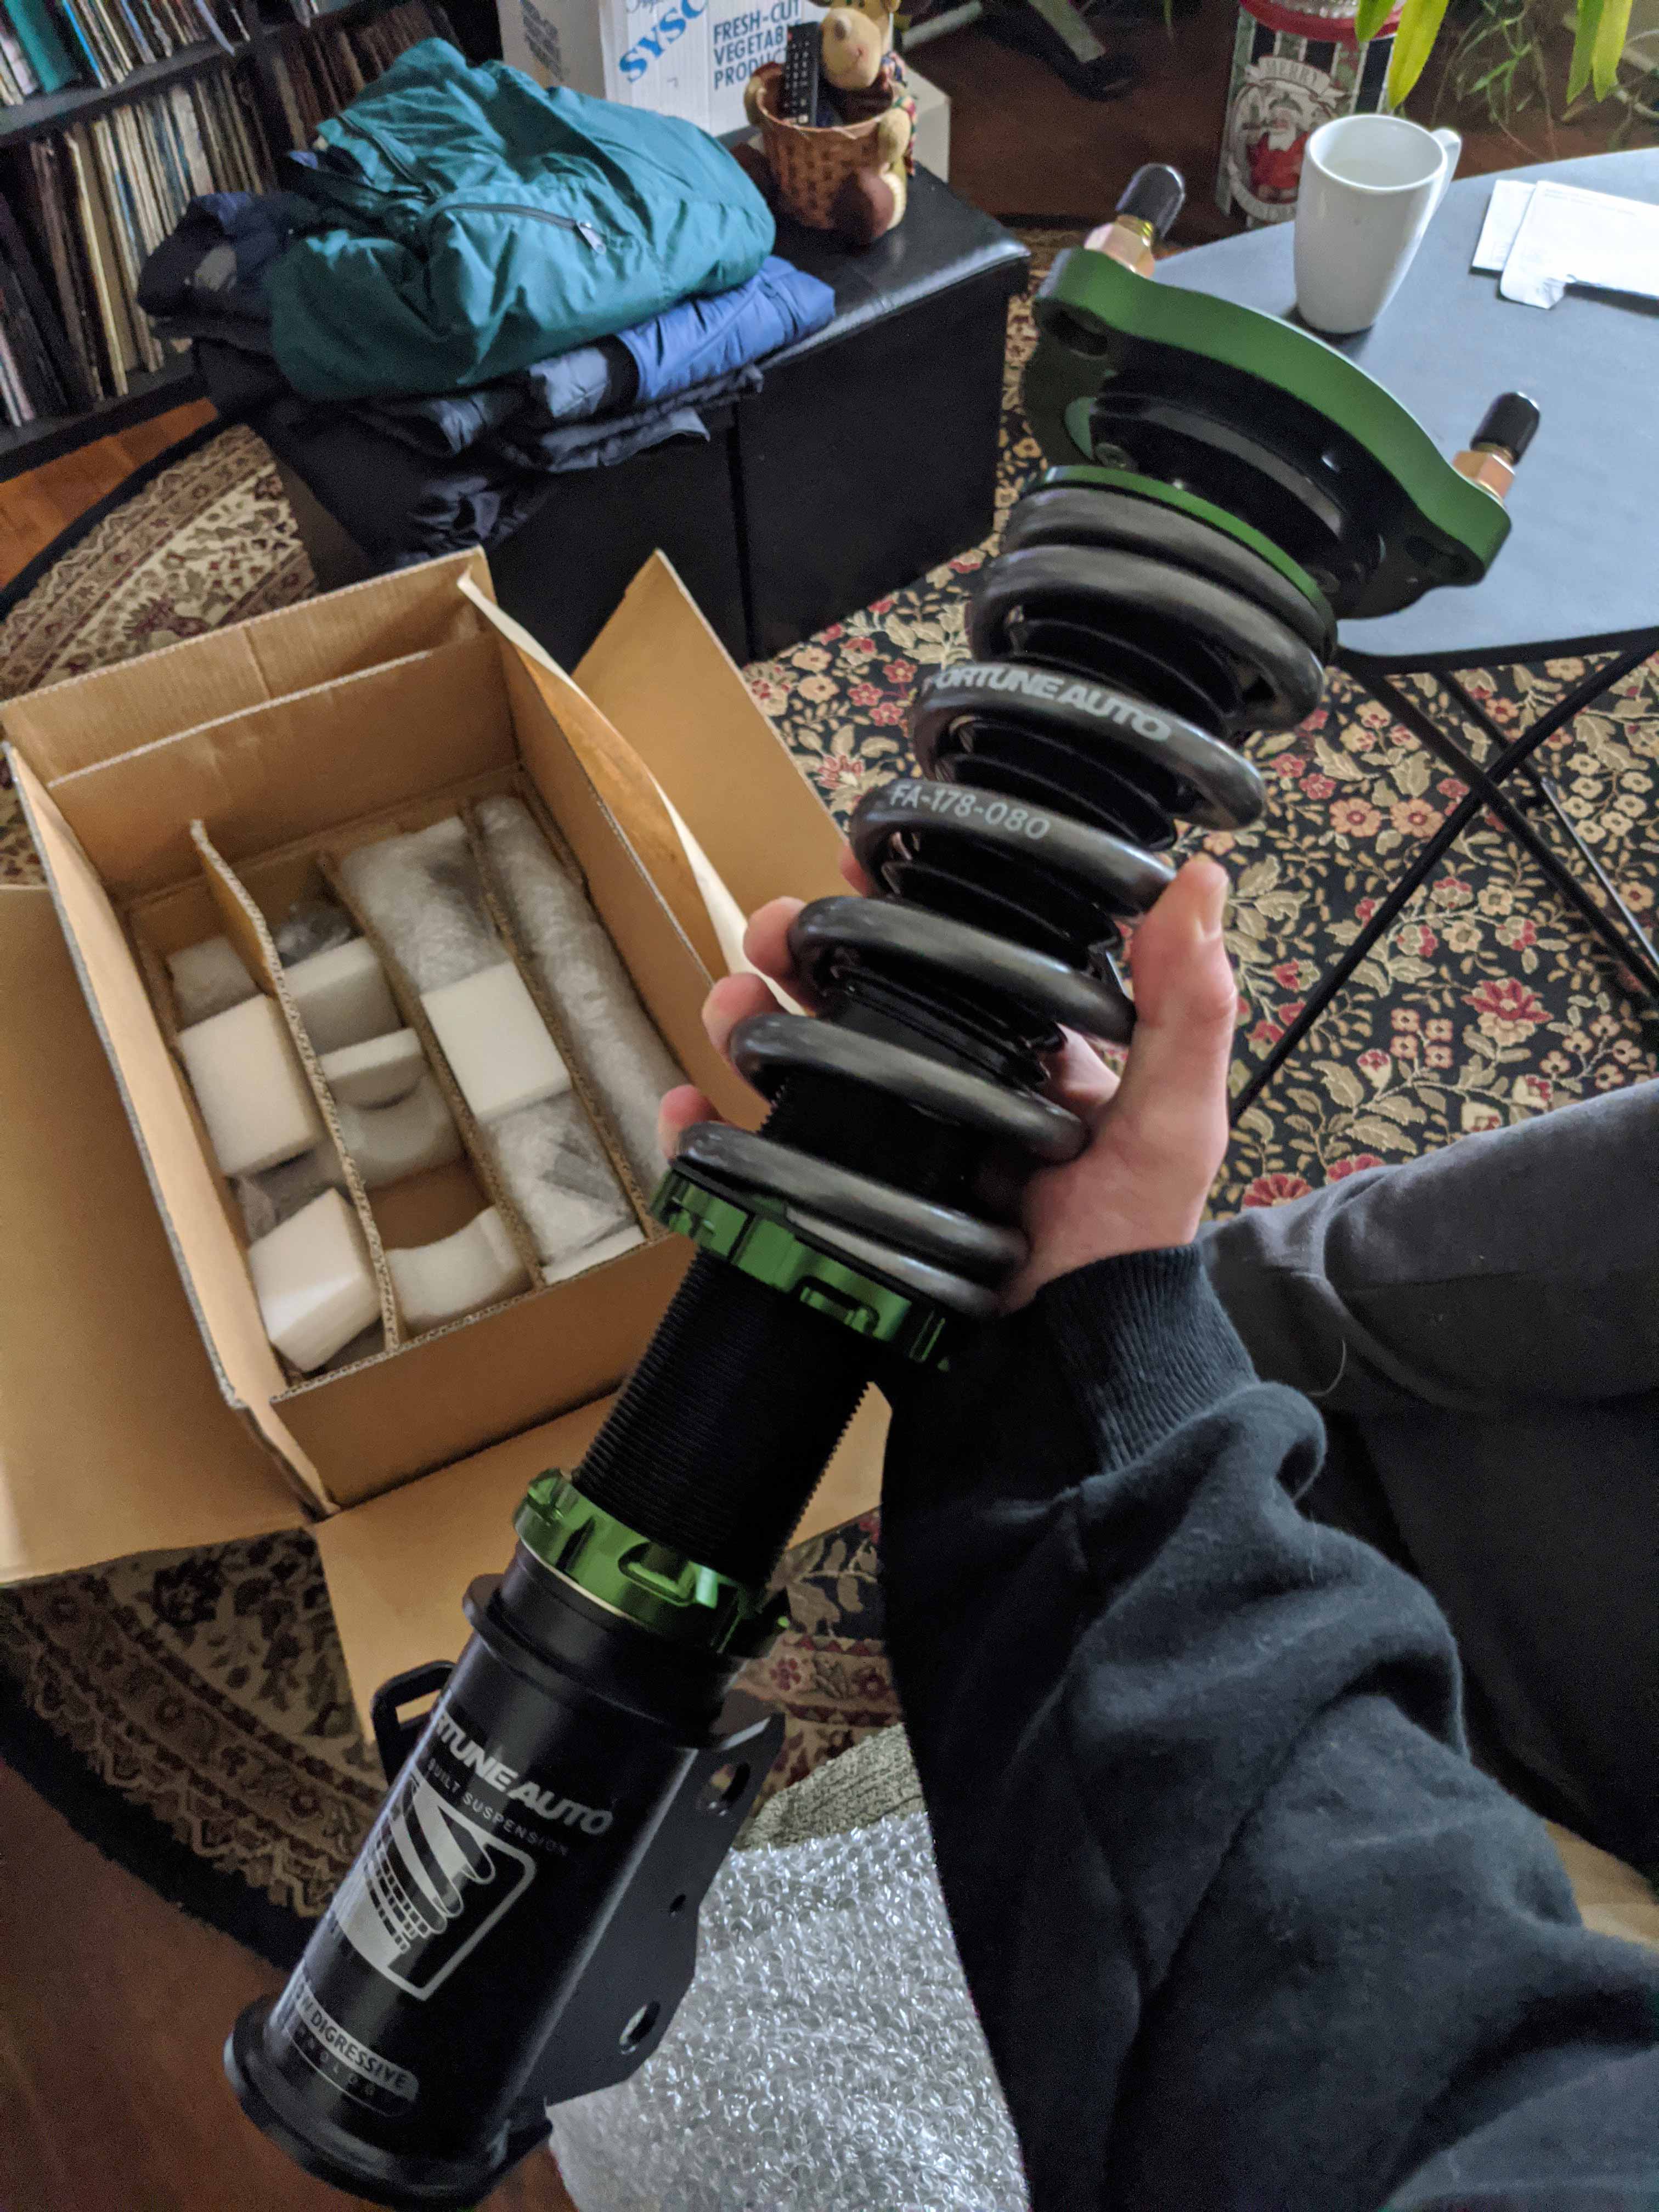
It was 50ish degrees and sunny a few days after they shipped, and I figured that would be my best chance to install these parts. My main problem would be running out of daylight if the project took too long. Thankfully, the installation process took a lot less time for these than it did for the stereo. I had two front coilovers to install, which are the ones shown above, and two rears, which are a little different as the spring and shock are separate. I jacked the car up and started on the fronts. I took the wheel off and popped the hood to see that the stock suspension was bolted down under the hood and connected to the upper control arm. I used a second jack to keep the rotor in place, unbolted everything, and the stock suspension came out.


The process for the front coilovers is exactly the same on the left and right. This meant that after doing it once, it took a lot less time the second try. Once the fronts were on I took the car for a drive around the block. Everything seemed great, so onto the rears.

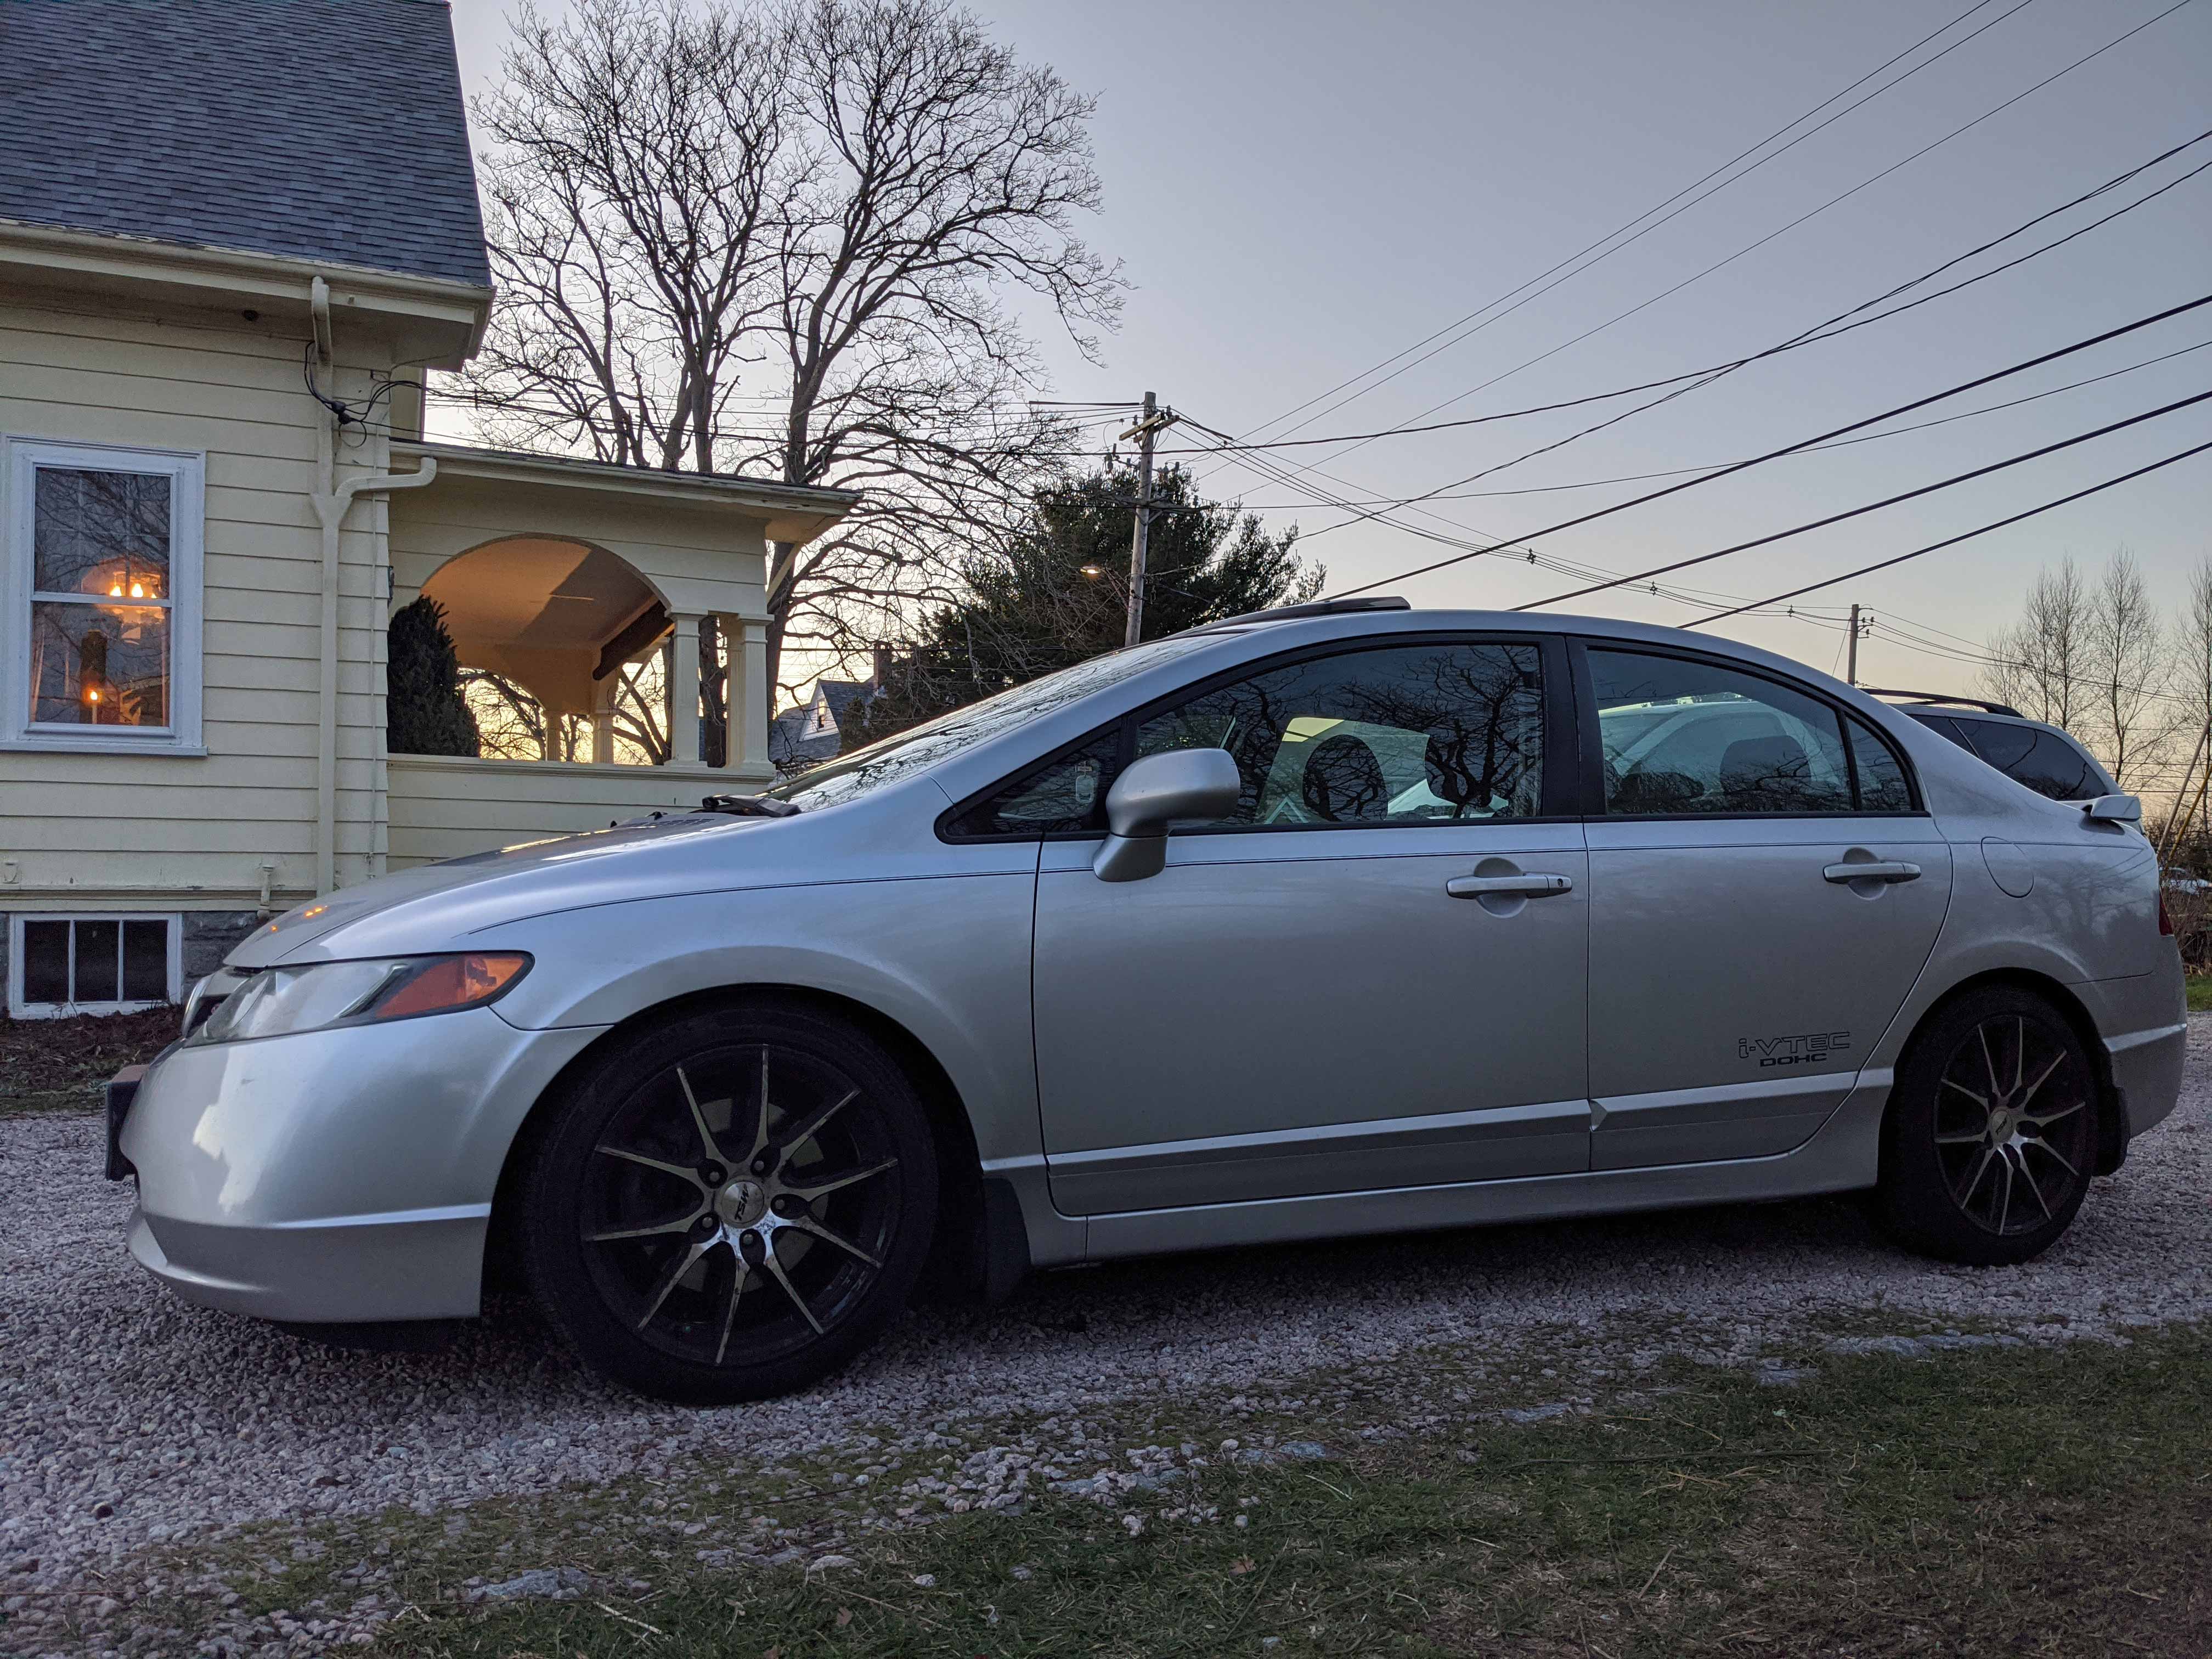
The rears were a little more complicated. The strut mounted inside the trunk and required holding the top in place with an allen key while rotating the bolt below it to remove it. To remove the spring, I had to step on the control arm while my dad used a big metal rod to try and pop the spring out of its perch. The tutorials made it seem much easier on Youtube... Oh yeah, the coilovers came with basically no instructions, so we had to go off a couple Youtube videos to try and figure it all out. You would figure that for the price, I could get some instructions written out, but what do I know.
Whatever, in the end it was worth it. The car looks infinitely better and drives like a dream. It's firm and responsive without being uncomfortable for daily driving, and it takes corners so much better than before. Definitely worth the money, a little stress, and a day's work. Speaking of which, that's why there aren't too many pictures. I spent the day racing against the clock knowing that the sun would go down at around 4pm. Winter in New England is just lovely.
